This DIY soap tutorial is perfect as a small gift for Mother's day, but also makes a fun Handmade wedding favor. Making these soaps is a lot of fun and very easy.
Join us for a step by step tutorial - and make a beautiful soap gift!
Materials:
- Microwave - To melt the soap
- Glycerin soap base- Clear or white
- Microwave safe measuring cup
- Spoon- To mix in the color and scent
- Fragrance Oil or Essential oil
- Soap color (more details below)
- Cookie cutters- To make fun shapes
- Mold- (more details below)
- Rope, ribbon or twine
- Bamboo skewer - To punch a hole for the ribbon
- Letter stamps- To say I Love you!
So, what we are going to do is melt the soap, add color and scent and pour it into the mold.
When it cools down, we will use the cookie cutters to make sweet shapes, punch a little hole in them and put a rope on the soaps. To add a message to the soap- just press on it with the letter stamps.
And here are the step by step instructions:
Step 1: Melt soap
Melt 12 Oz soap in a microwave safe glass bowl or cup. In order to avoid burning the soap- please make sure you take the soap out of the microwave every 30 seconds or so and stir it. A total of 1 minutes usually works. Help it melt better by stirring.
Step 2: Add scent
You can use essential oil or skin safe fragrance oil. Depending on how much soap you have melted, add 0.5 tsp per 1 lb of soap (2.5 ml scent / per 0.5 kg soap).
Step 3: Additives and colors
Things you can add to your soap:
Butters and oils, dry flowers, Oatmeal, dry herbs, seeds, dead sea salt, Honey, milk..
So many things can be added to the soap- some for fragrance, some are added as active ingredients and some are there to exfoliate or just to add some texture.
Remember- fresh plants are most likely to change color in the soap, prefer dry herbs and add a little bit at first, you can always add more..
How to color soap: If you don't have access to soap color, you can use food coloring; But use a tiny - little - ity - bit, since it is so strong. Another way to add color to soap, and one of my favorite ones, is using natural colorants in soap making. Spices (turmeric, cinnamon..) are a great way to start, clay is wonderful- I used pink clay for this tutorial. Active charcoal is great for color and for your skin.
Step 4: Pour into the mold
What mold to use- any flat mold. I used a silicone cake pan by Wilton. If you are using a non flexible mold, remember to line it with a plastic wrap or bag, that way it will be easy to take the soap out of the mold. Cake pans, recycled plastic box or even a lined wooden drawer will work.
Why is the star cookie cutter in the mold? I used it to make sure I don't fill the mold too much.
I intend on cutting the soap with cookie cutters, and if it is too thick, cutting will be very difficult. Another way to check the thickness of the soap is by dipping a craft stick in it, and add more soap if needed.
Step 5: Allow the soap to cool for around 15 minutes
When it is cold enough to take out of the mold, remove it carefully and place on a cutting board or wax paper. The longer you wait after it is ready, the harder it is to cut the soap.
Step 6: Cut out shapes
Use a cookie cutter, and plan before you cut by placing the cookie cutters on the soap. If it's hard to push the cookie cutter down on the soap, use a glass or jar. Gently push the soap out of the cookie cutter.
Step 7: Punch a hole in the soap
Use a bamboo skewer or any pointy object.
Step 8: Tie a ribbon
You can use any ribbon, rope and twine you can find, even add a little tag to the soap.
Big ribbons are harder to push through the hole in the soap. Use the skewer (the non-pointy side) to push the ribbon through.
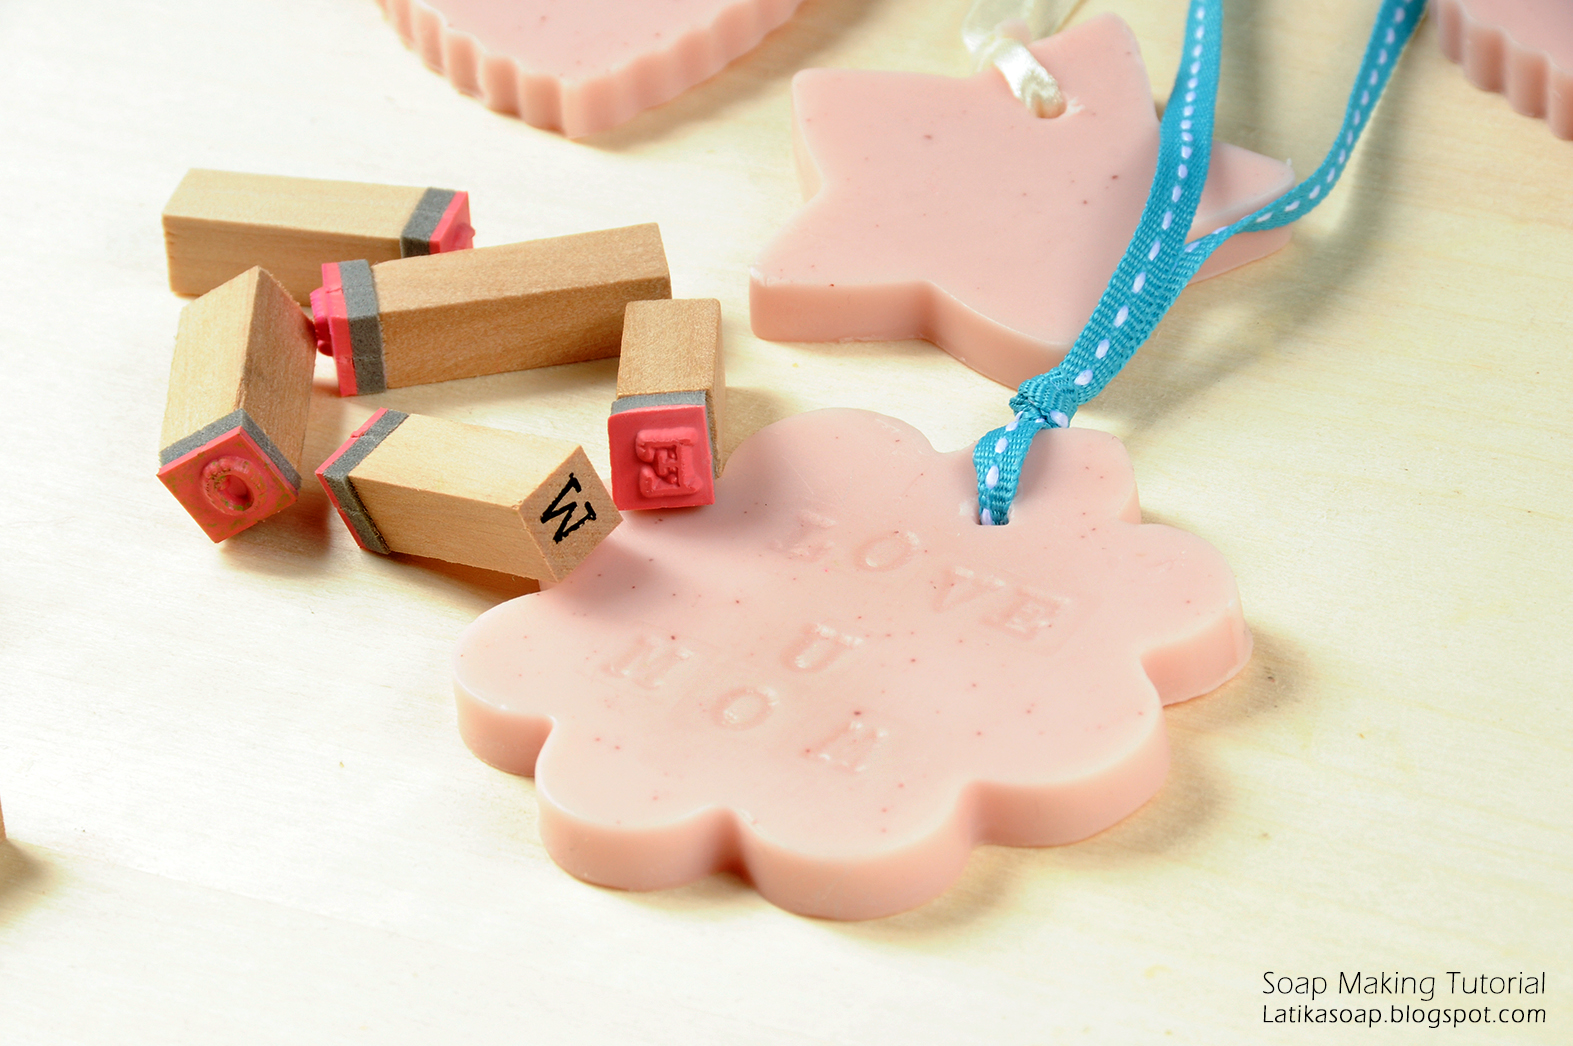
Step 9: Say something!
Use stamps to add words or shapes to your beautiful soap! "Thank you", for your wedding guests, "I love you mom"- would turn this soap to a perfect mothers day gift!
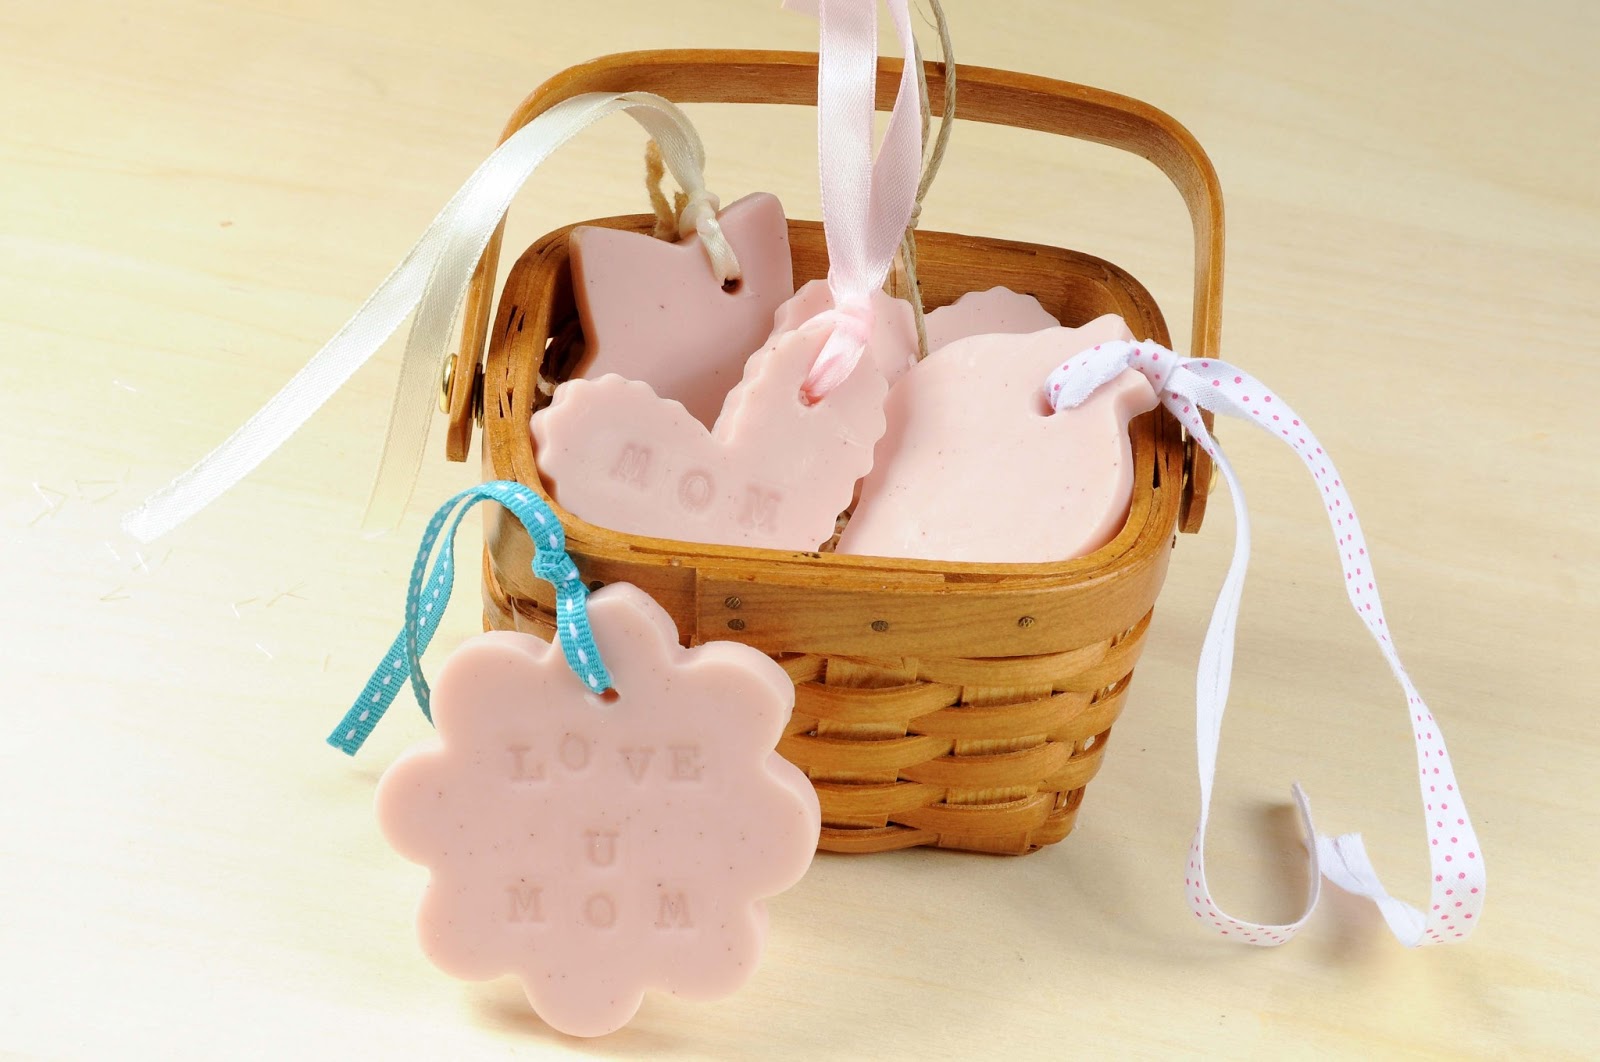
Step 10: Wrap it up and enjoy!
Send us a picture of your soap- you can tag us on instagram #latikasoap or on Facebook @latikasoap.
Share this tutorial and let us know what you think :)
Happy soaping!
♥ Mazzi
If you like picture tutorials- heres a pinnable one :


 ☜ The MAP ♥ Latika's booth is #86 Come and say hi!